Our handle consists of a PETG core with a Polyolefin outer layer. While this outer layer is the best material we've found for grip feel, it is prone to taking cuts when struck by steel, particularly in the lower half which is not covered by the user's hands and gloves.
For sparring against other steel fencing swords, we recommend reinforcing this lower section with cloth tape or with grip wrap (such as those used for tennis rackets), either proactively or when cuts are sustained.
Maintaining YourSteel
Steel parts will rust over time when exposed to air and moisture. This is normal. You can minimize this rust by oiling your steel parts when not in use, for example with WD-40 or Ballistol. Avoid storing your swords in rooms with high moisture, if possible.
If your blade, crossguard, or pommel does rust, it can be removed with steel wool and/or sandpaper. First clear as much rust as you can with the steel wool. Then, use a coarse grit sandpaper to remove thicker patches of rust. Finish with a finer grain sandpaper to remove remaining specks.
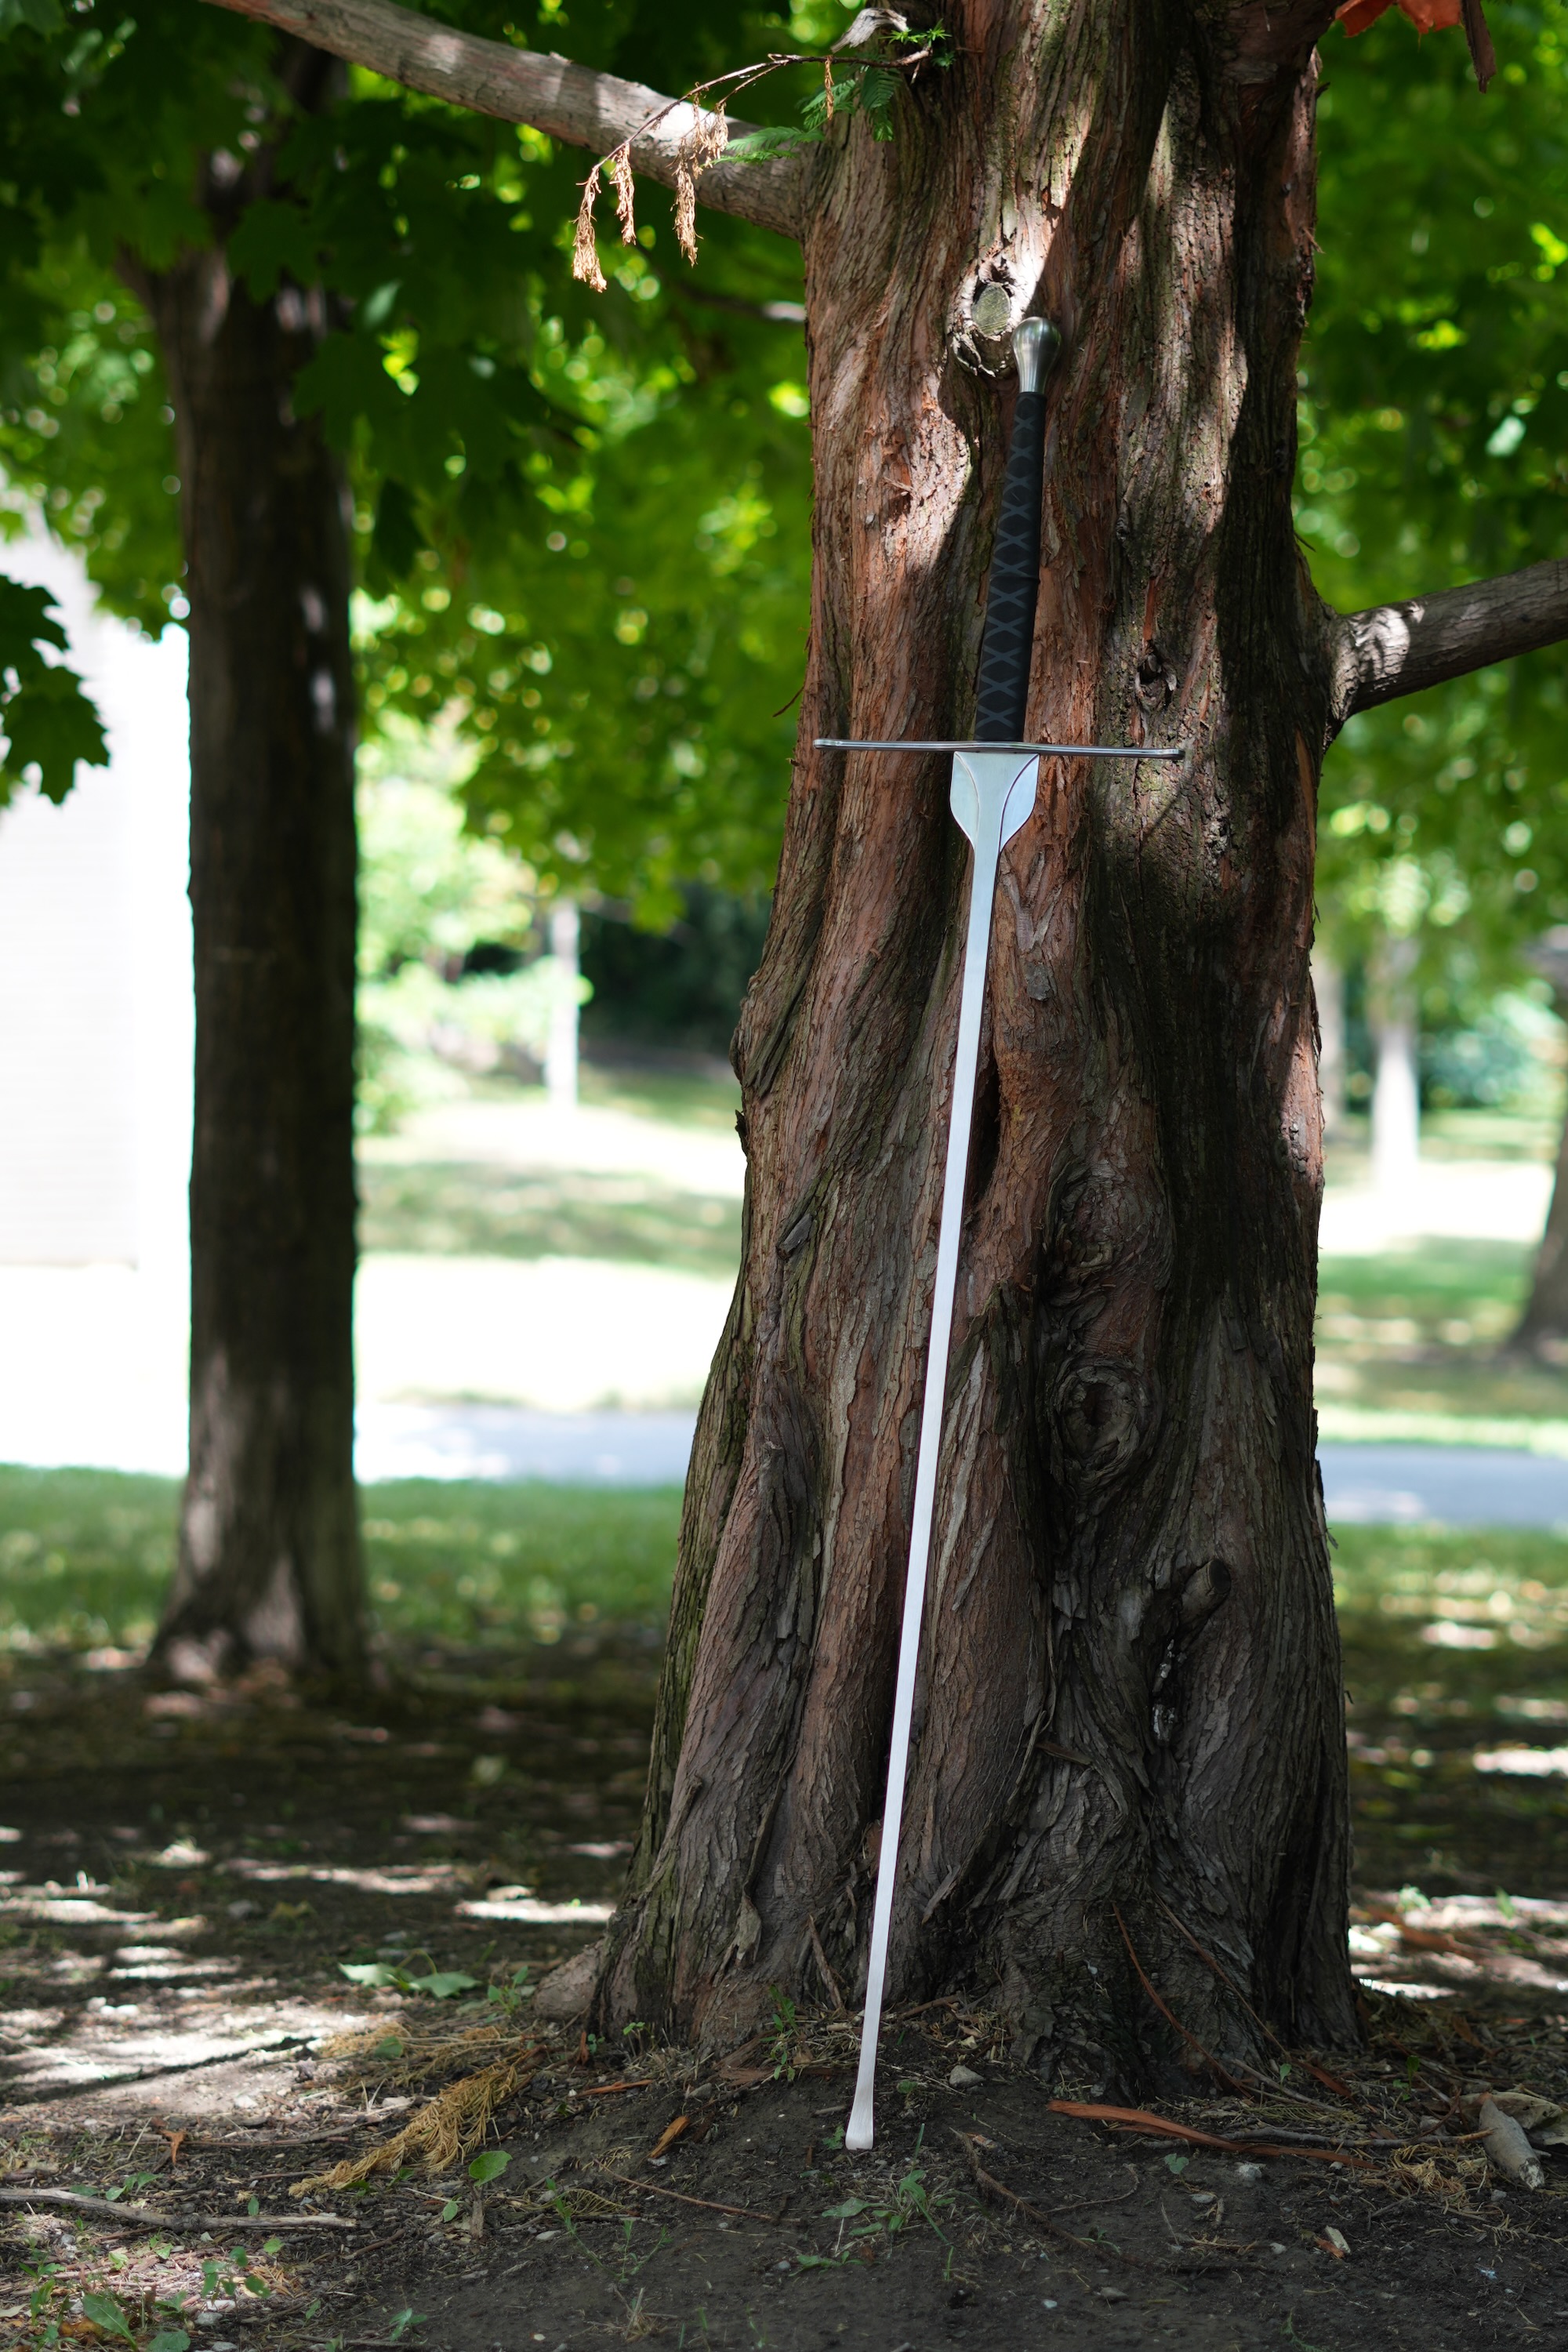
HandlingSets
The blade of our swords will flex when thrust. When this flex is strong enough, the sword may stay curved afterwards. Blades may also have a "natural" curve they "want" to sustain, learned when they were heat treated.
If a set on your blade is light, does not get worse, and does not affect your handling, we recommend leaving it. You may cause stronger sets to occur earlier by bending your blade too frequently.
It is common to bend blades back into shape, especially ones which are flexed strongly (for example in tournament use). "S-curves" are more likely to lead to broken blades or further bending, and should be avoided. Blades are consumable parts and should eventually be retired.
If you use heat to make it easier to bend your sword back into place, do not exceed 400F or you will approach the range that risks damaging the heat treatment.
AssemblingYour Sword
We also have a video available showing the assembly of a sword.
Start with your blade. Note the rounded shoulders where the tang meets the Schilt.
Insert the crossguard onto the blade, with the groove pointed towards the shoulders. The crossguard should sit flush against the schilt.
Insert the handle onto the tang. The handle needs to fit on far enough that the narrow end-part of the tang is exposed, for the next steps.
Slot the threaded rod onto the end of the tang. It is important that the opening of the threaded rod aligns with one of the "faces" of the sword, as shown in these images. Otherwise, it could come loose, damaging the threading and requiring replacement.
Insert the pommel body onto the end of the tang. It should slot onto the part of the handle that sticks out. If this part of the handle ever becomes damaged, the handle must be replaced, otherwise the integrity of the sword will be compromised.
Thread the broaching pin through the pommel body and onto the threads most of the way by hand, taking care that the threaded rod is still correctly aligned on the tang. If it becomes misplaced, remove the pommel body, put the threaded rod back, and repeat these steps.
Finish tightening the broaching pin using a 6mm hex key. This should be tightened just enough that the crossguard does not rattle. Do not over-tighten.
It is better to under-tighten the first time you assemble, and then tighten again if the crossguard rattles.